This page walks you through creating an Observare account and adding your first monitor. It should take less than five minutes end to end.
Create an account
Head to observare.co.uk/register. You'll see the Create Your Account form:
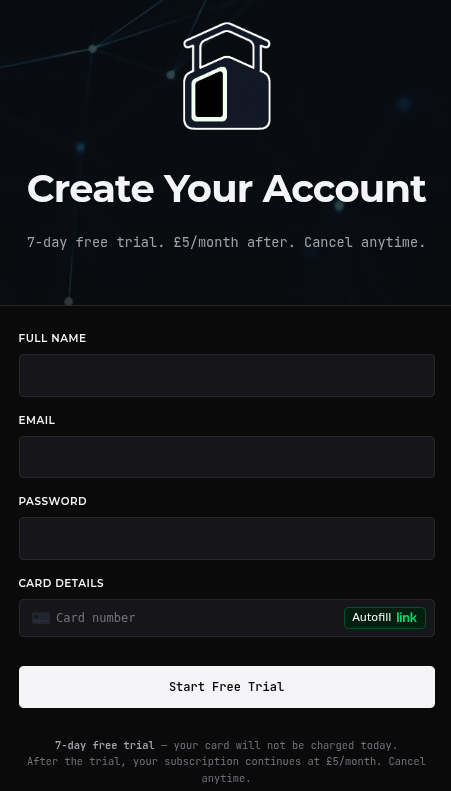
Fill in:
- Full name — whatever you'd like to appear on your account.
- Email — we'll send alerts and receipts here.
- Password — pick something strong. Two-factor authentication is supported and can be enabled later under Account.
- Card details — we collect card details up front to start the 7-day free trial. You are not charged during the trial, and you can cancel from Subscription at any point before it ends with nothing billed.
Click Start Free Trial. We'll send a confirmation email to the address you entered — open it and click the link inside to verify the address. The link takes you to the Observare login page at observare.io/login, where you sign in with the email and password you just set.
Once you're logged in you land on the Dashboard. It's empty by default — no monitors, no incidents, nothing to look at. That's fine. We're about to change that.
The dashboard at a glance
First time in, the dashboard is mostly empty — you haven't added any monitors yet, so there's nothing to show.
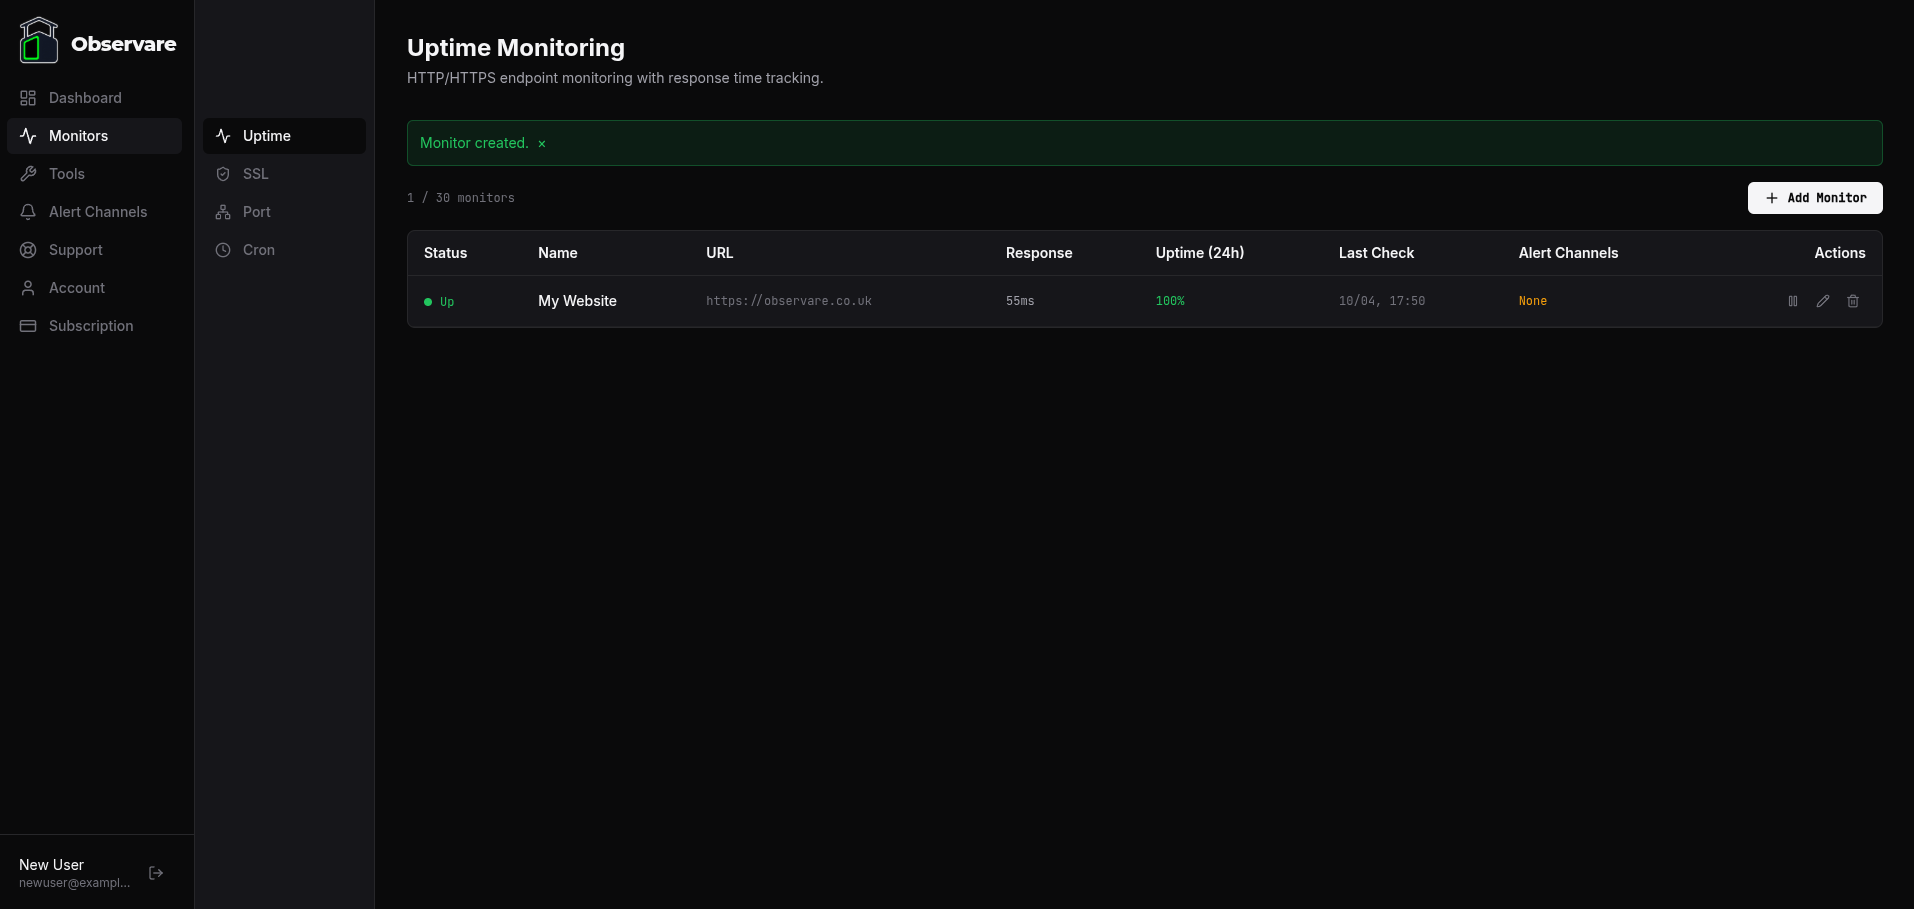
The sidebar on the left is the main navigation: Dashboard, Monitors, Tools, Alert Channels, Support, Account, and Subscription. The dashboard fills in as you add monitors.
Add your first monitor
Click Monitors in the sidebar. A sub-nav appears with the four monitor types you can add:
- Uptime — HTTP/HTTPS check against a URL.
- SSL — certificate expiry and chain check.
- Port — raw TCP port check (useful for SMTP, SSH, databases, custom services).
- Cron heartbeat — inbound ping with a dead-man's-switch alert if it goes quiet.
For your first monitor we recommend uptime against a site you own. Click Uptime, then Add monitor, and fill in:
- Name — something human-readable, e.g.
Marketing site. - URL — the full URL you want to check, e.g.
https://example.com. - Check interval — how often Observare should probe. 5, 10, or 15 minutes.
- Expected status — defaults to 2xx; set this to 200 if you want strict matching.
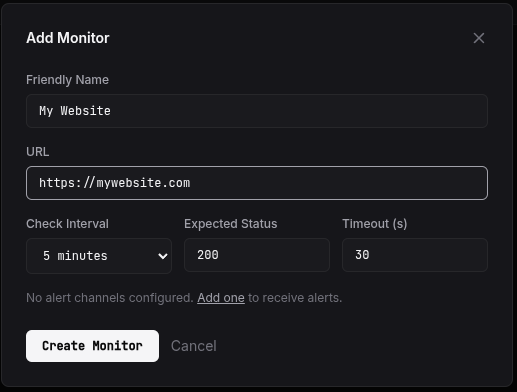
Save. You'll be redirected to the monitor's detail page. Within a minute or two you'll see the first check land and the status flip to green.
Verify an alert
A monitor on its own isn't useful until it can reach you. The next page, Setting up alert channels, shows you how to connect an email or SMS channel and assign it to your monitor so you actually get notified when something goes down.
What's next
- Setting up alert channels — connect an email or SMS channel and assign it to your monitor.
- Uptime monitoring — everything the uptime checker can do.
- Cron heartbeat monitoring — the feature most solo devs overlook.